
Introduction to Raspberry Pi:
The Raspberry Pi, a series of small single-board computers developed in the United Kingdom by the Raspberry Pi Foundation in partnership with Broadcom, emerged initially to promote basic computer science education in schools. However, its unexpected popularity soared beyond educational settings, finding applications in diverse fields such as robotics, home automation, and hobbyist projects, thanks to its low cost, modularity, and open design. As demand grew, a subsidiary named Raspberry Pi Ltd was established in 2013 to oversee development and support. Under the leadership of CEO Eben Upton, the foundation pivoted towards becoming an educational charity, emphasizing computer science education globally. Manufacturing primarily takes place in Wales, with additional facilities in China and Japan. Notably, in 2015, the Raspberry Pi outsold the ZX Spectrum, solidifying its status as the best-selling British computer. In 2021, Raspberry Pi (Trading) Ltd rebranded as Raspberry Pi Ltd, marking a milestone in its ongoing evolution and impact.

To get started with your Raspberry Pi, you’ll need the following:
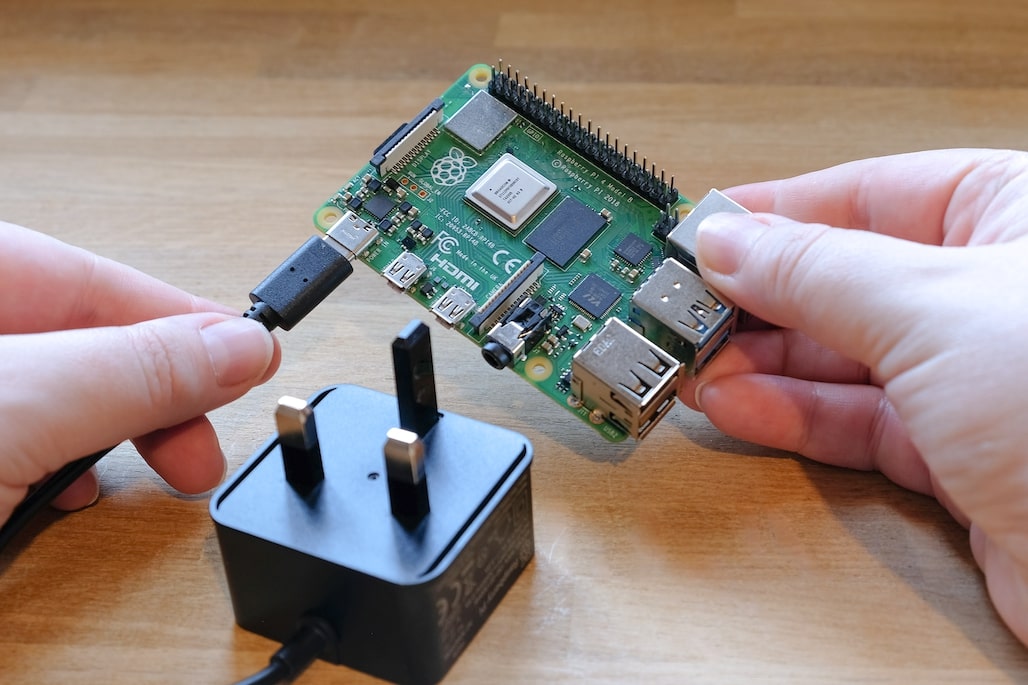
- Power supply
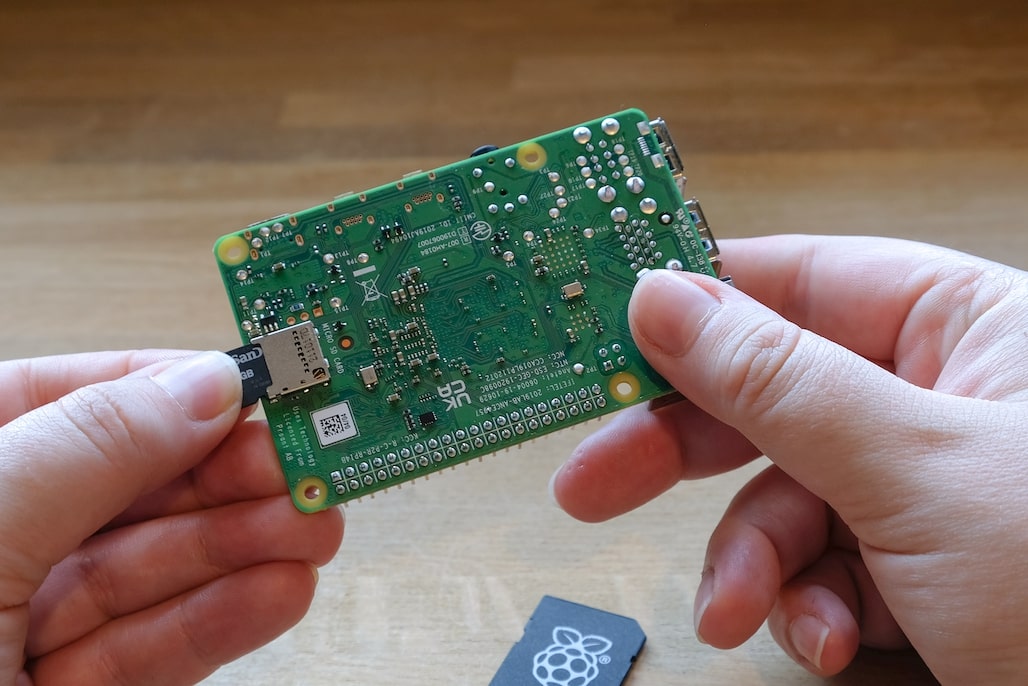
- Boot media (e.g. a microSD card )
If you want to use your Raspberry Pi , you’ll need the following additional accessories:
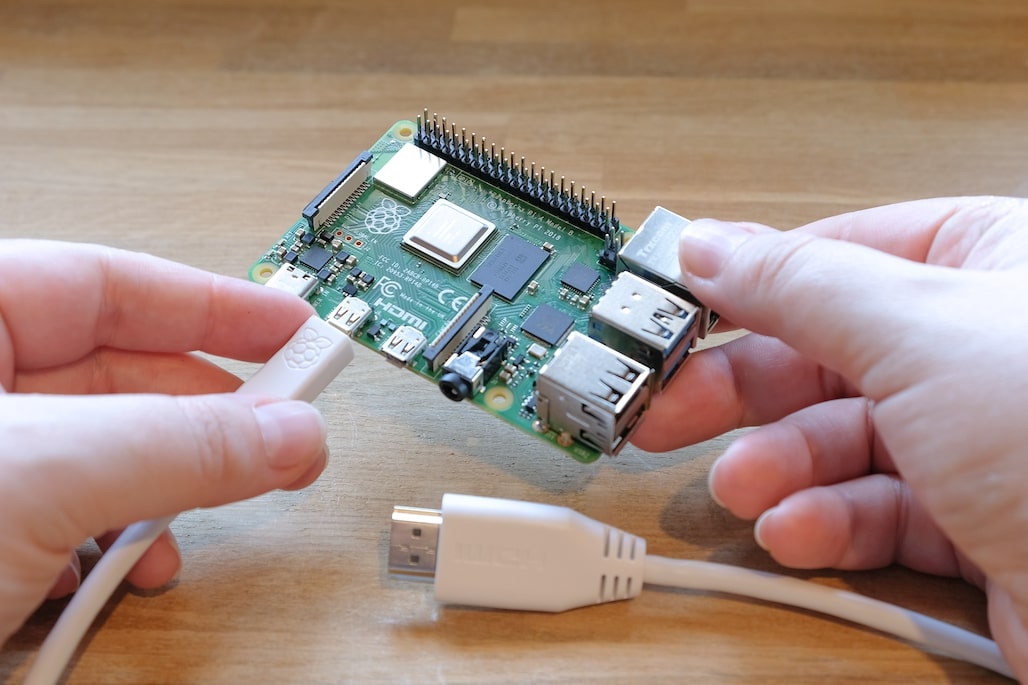
- Display(Monitor)
- Cable to connect your Raspberry Pi to your display
- Keyboard
- Mouse
Connect Power Supply: ( Power in pin as it is in Raspberry)
2. Boot Media(MicroSDcard)-
Raspberry Pi models lack onboard storage, so you have to supply it. You can boot your Raspberry Pi from an
operating system image installed on any supported media: micro SD cards are used.
3. Connect Monitor to the Raspberry Pi(HDM10 Pin)
Use a mini-HDMI-to-HDMI cable to connect the HDM10 ports on your Raspberry Pi to any HDMI display.
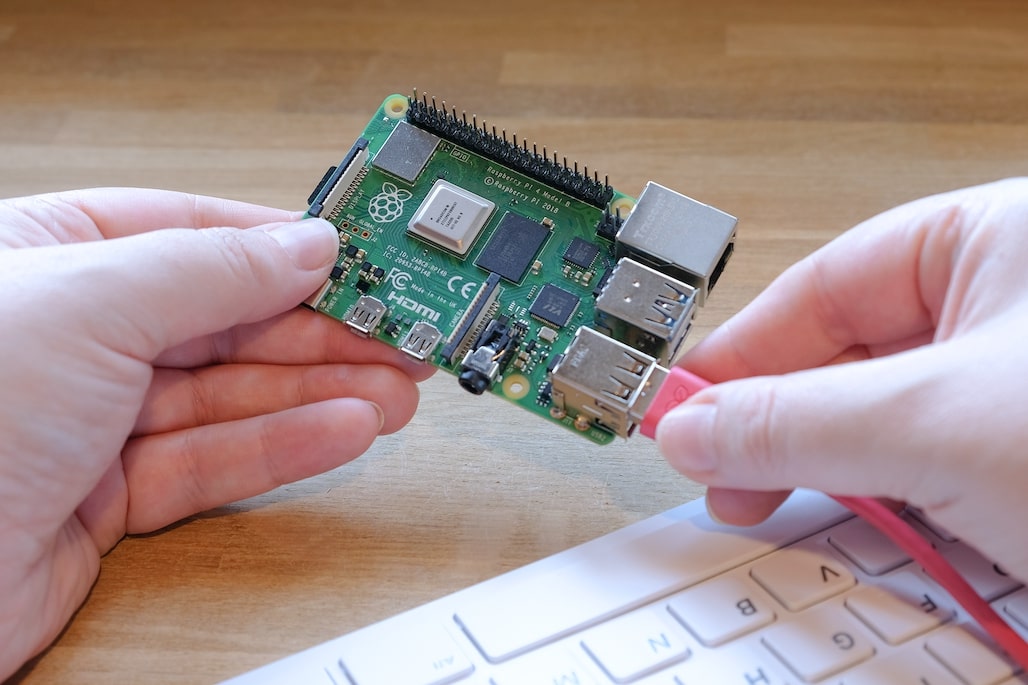
4.Connect USB Mouse & Keyboard(USB2 Slot )
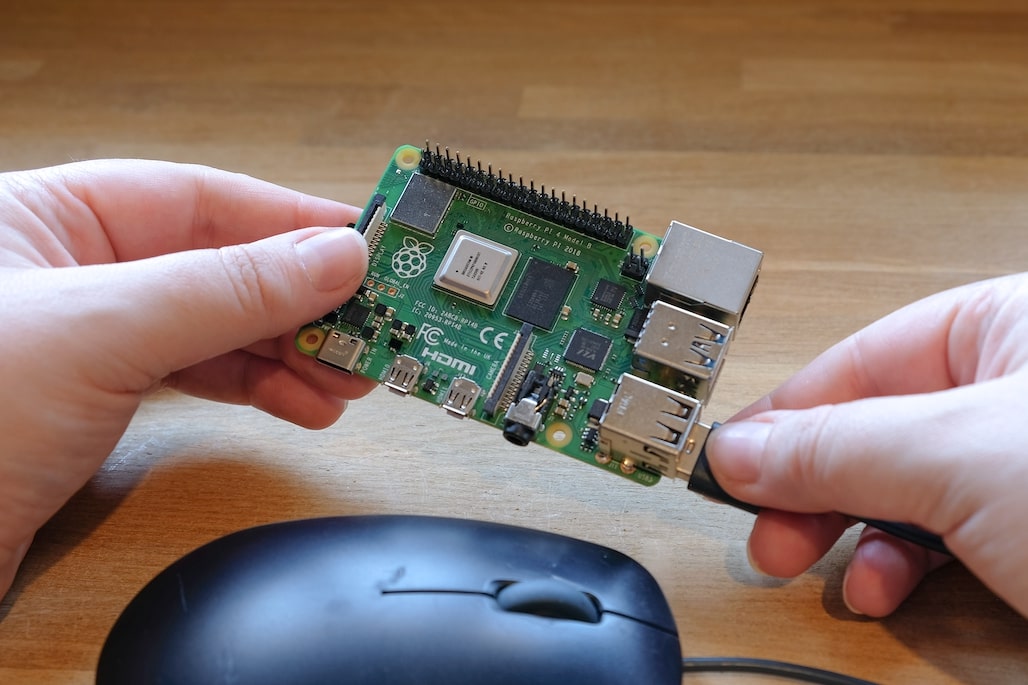
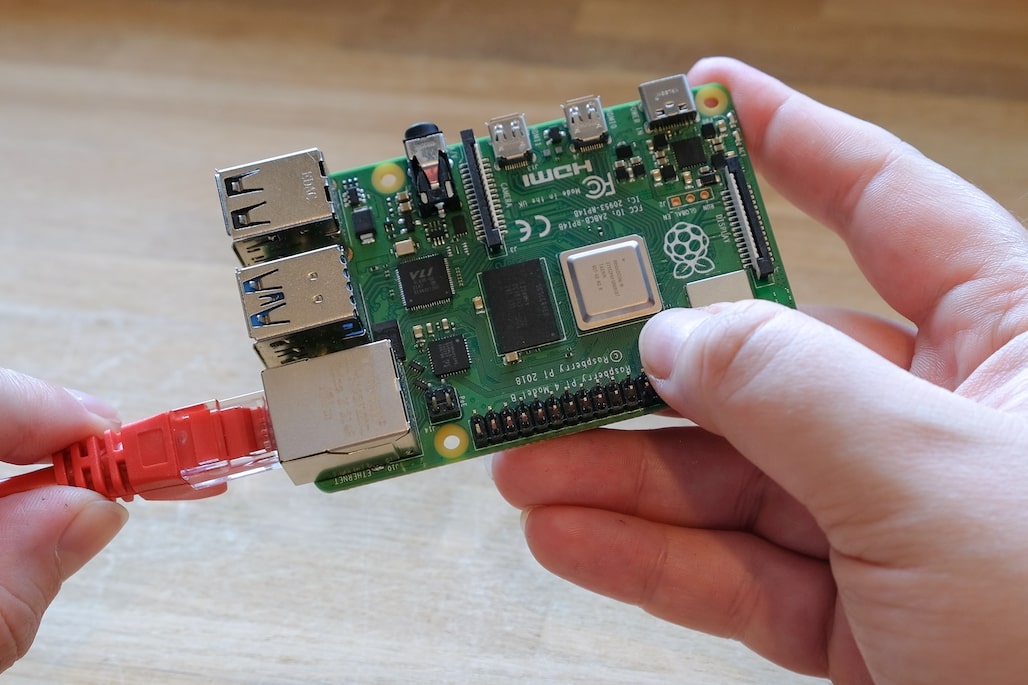
5.Connect Network
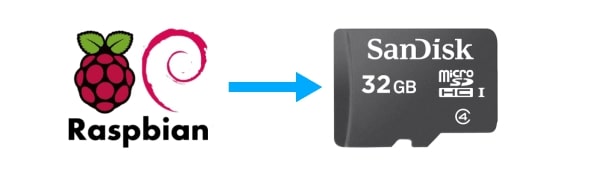
Installing Operating System:(Raspbian os)
To run a Raspberry Pi, you need an operating system installed on a compatible storage medium, typically a micro SD card. Raspbian OS, now known as Raspberry Pi OS, is the officially recommended operating system for Raspberry Pi devices. It can be used to develop a variety of Raspberry Pi projects.
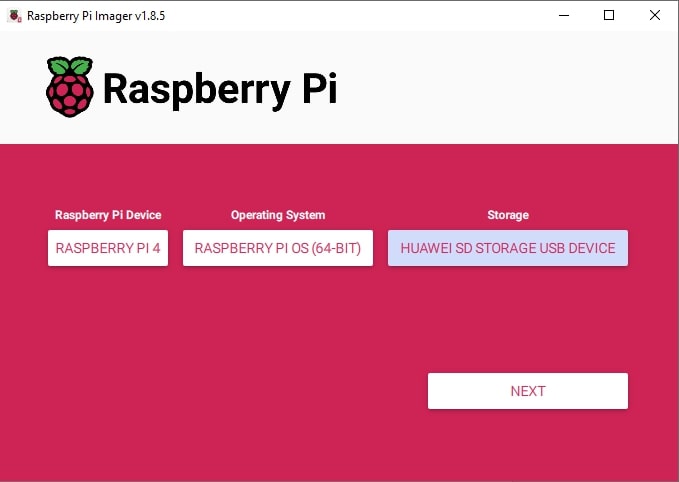
1. Download Raspbian OS using Raspberry Pi Imager
(https://www.raspberrypi.com/software/)
2.Install Raspberry Pi Imager
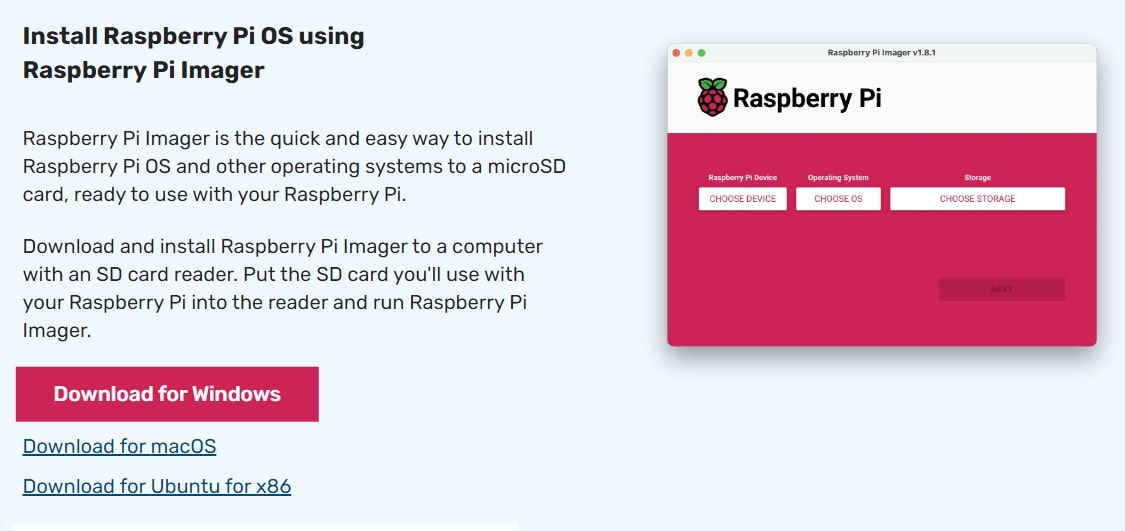
Click on Download for Windows and install it.
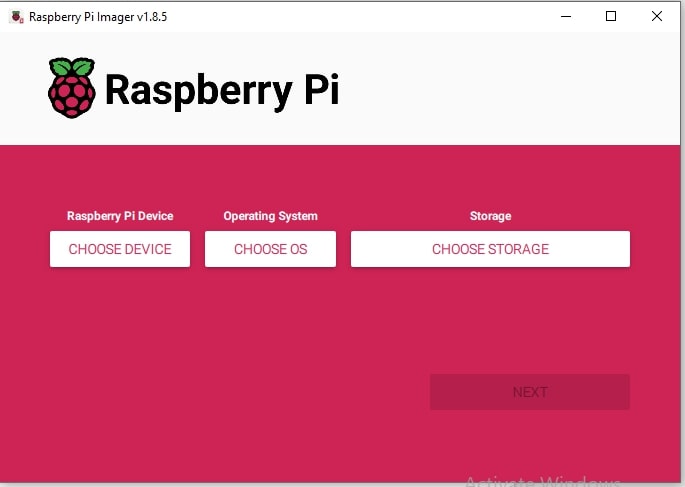
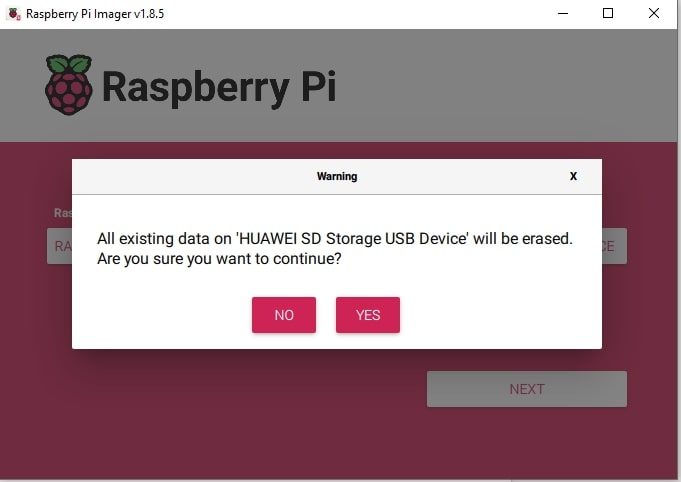
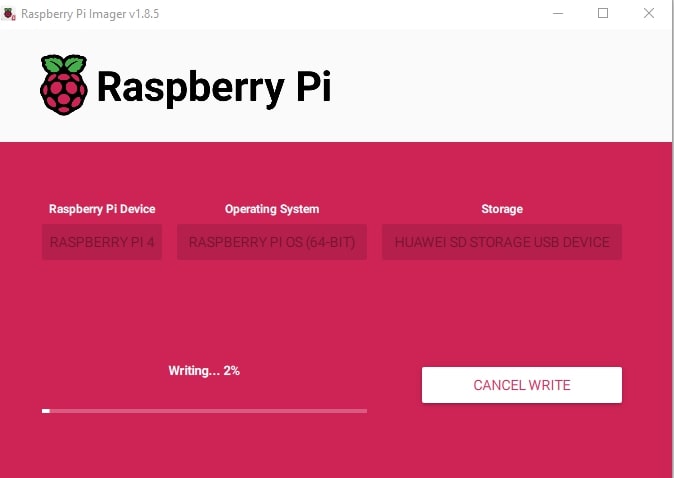
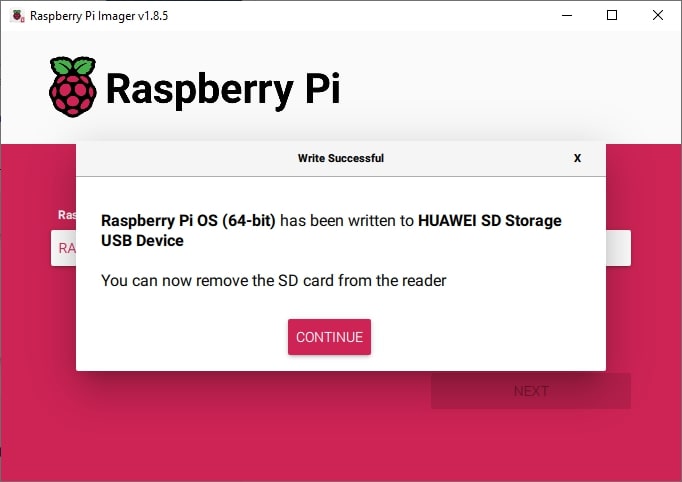
3. Select Pi device, OS and Storage in Raspberry Pi tool and give approval for
writing OS in MicroSD
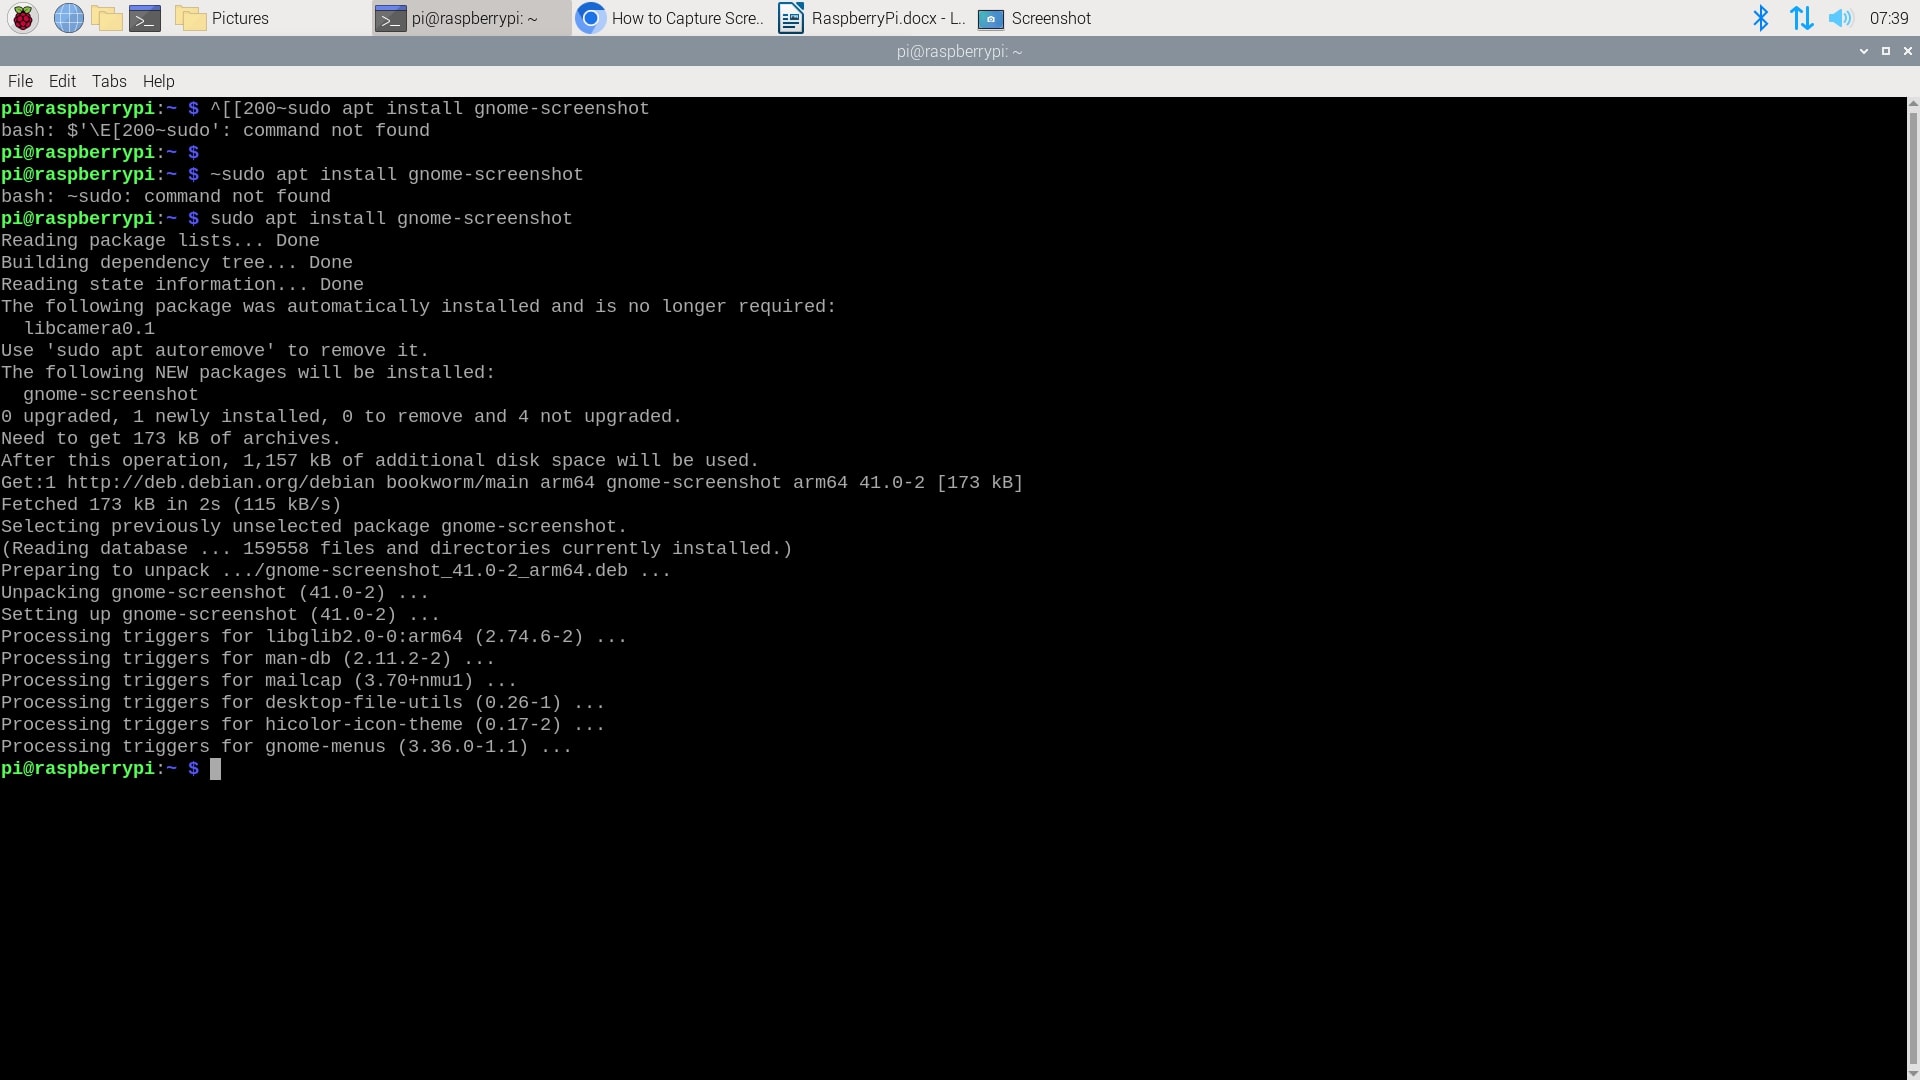
To capture screenshots on a Raspberry Pi, a gnome-screenshot package must be installed.
Sudo apt update
Sudo apt upgrade
Sudo apt install gnome-screenshot
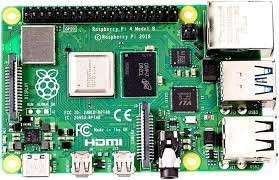
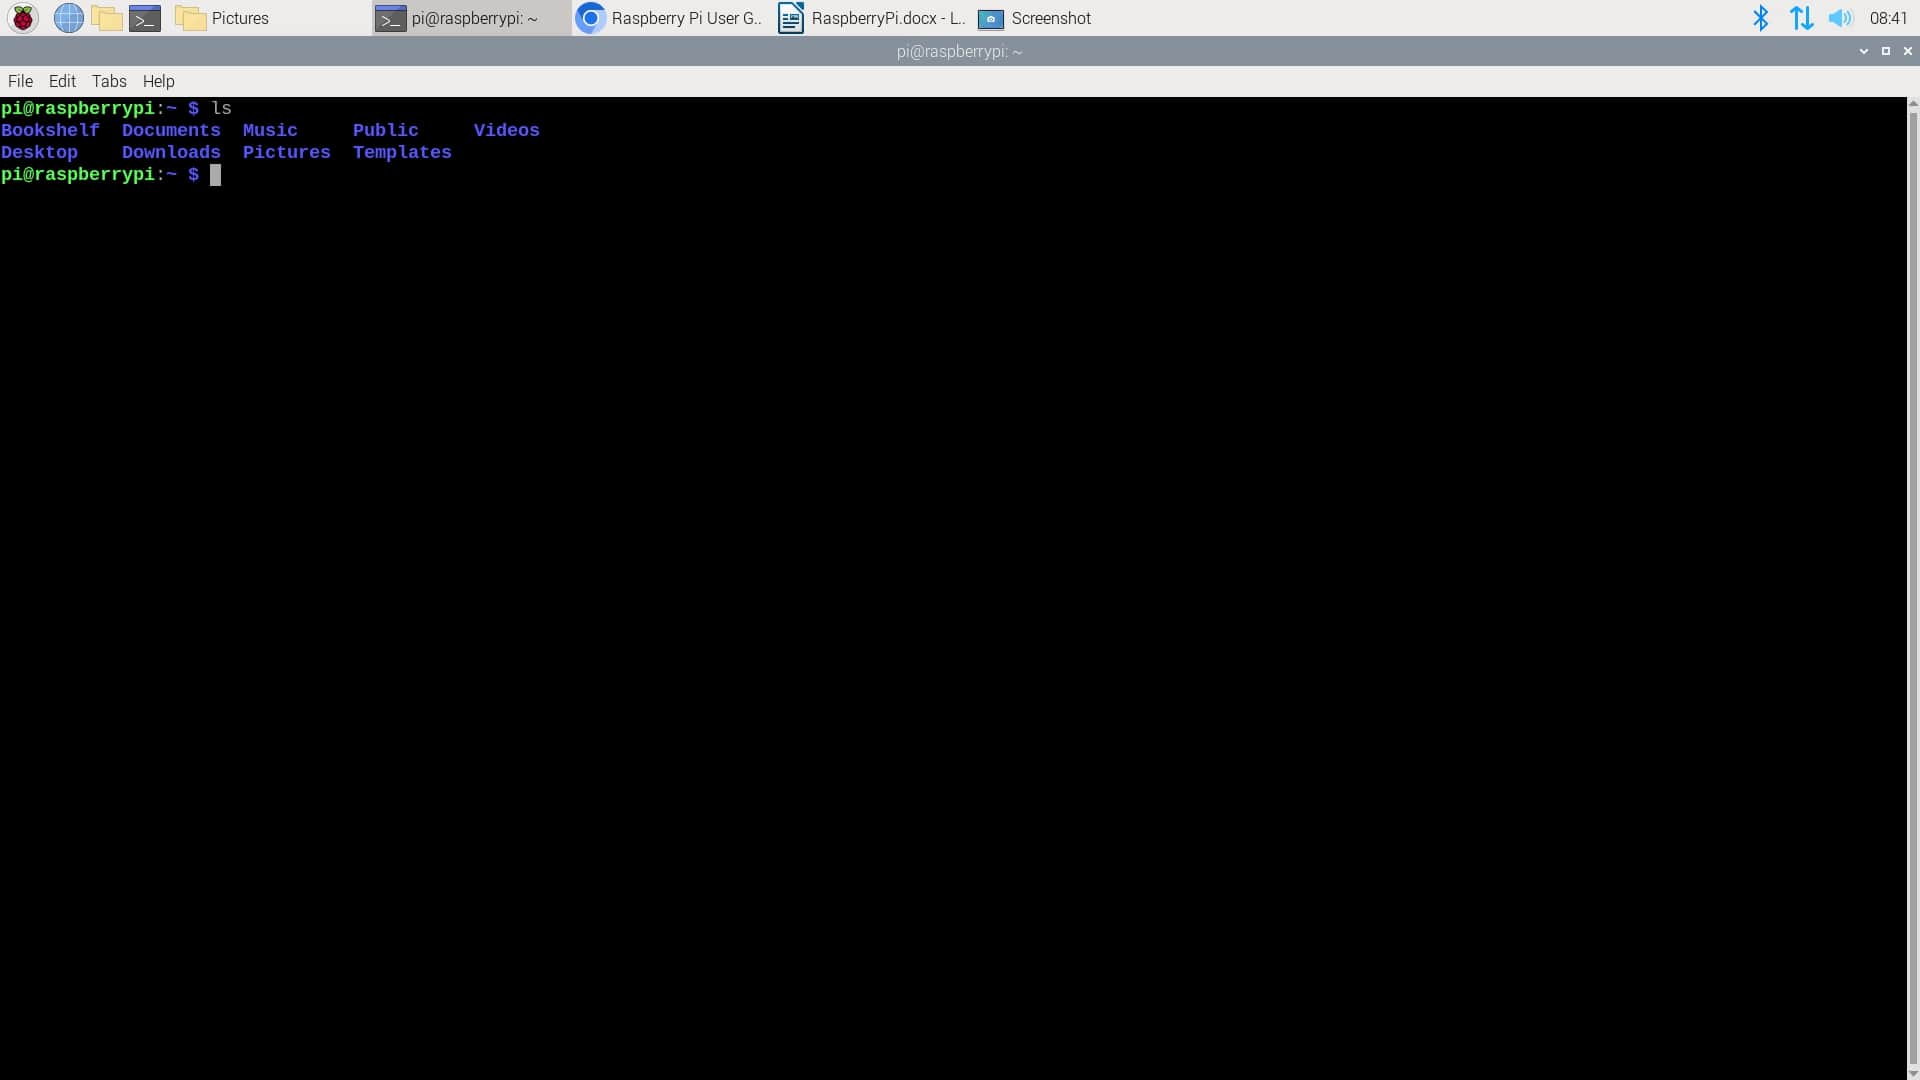
Getting Started With Raspberry
What is on the Pi?
All Raspberry Pi models have a system on a chip(SOC). It is powerful and does not require a lot of power to function. On the Raspberry motherboard, we can find two regular sized USB ports that you can use to connect to a keyboard and a mouse.
Four USB ports
LAN port-connect network Ethernet
To connect the PI to a display , the Pi has two HDMI ports for connecting both HDMI and a monitor.
Audio jack -connect it to headphones, to speakers.
Expansion head
It contains two rows of pins. Most of these pins are general purpose input/output pins(GPI-Os). Use these pins to connect Pi to other electronics devices
CSI connector – for connecting a camera to a Pi
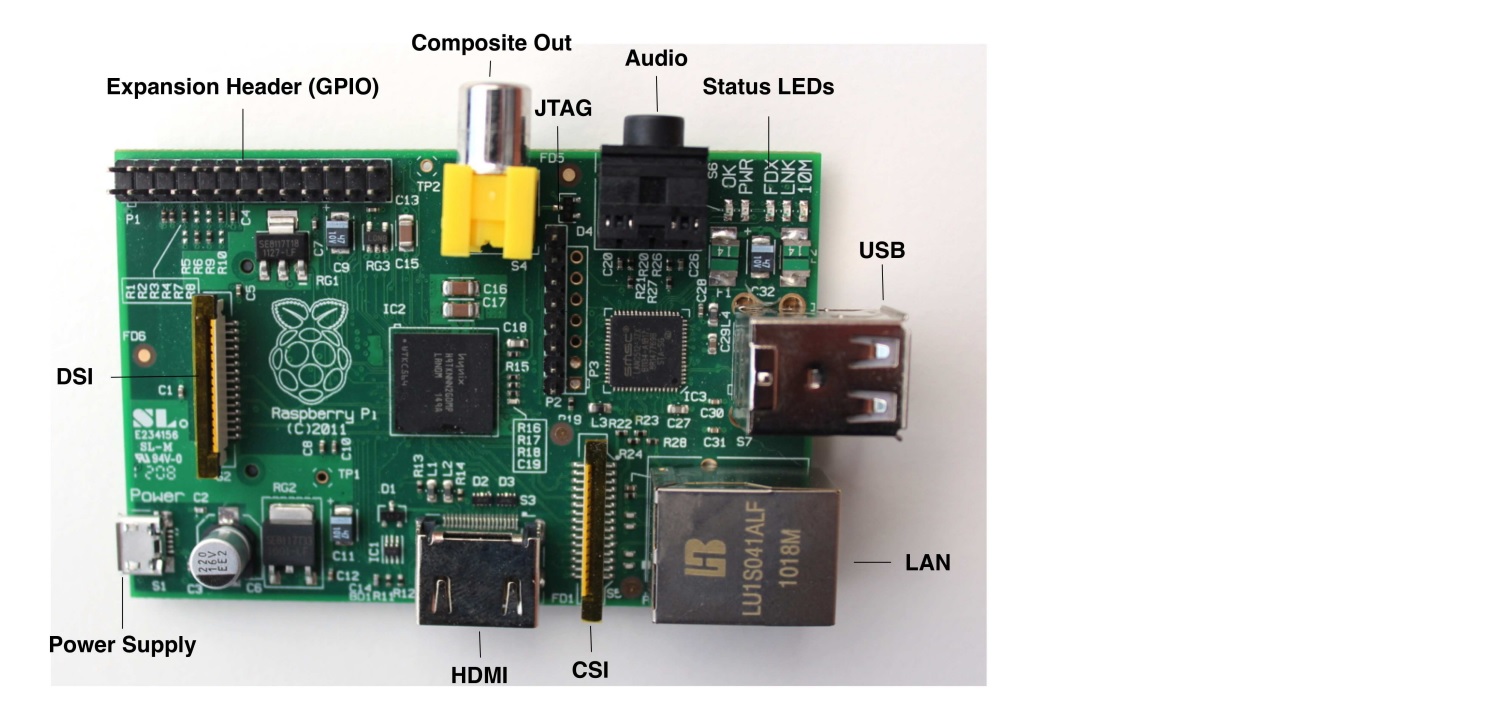
The Pi board has five status LEDs that have the following meaning
The ACT LED indicates SD card access. It blinks whenever the PI tries to access the SD card.
The PWR LED turns on as soon as it is connected to the power supply.
The FDX LED shows whether LAN is running a full duplex. Every LAN activity , the LNK LED blinks.
The Pi has no persistent internal memory, so you have to boot it from an SD card.
File System Layout
First time if you log in to the Pi and type, it will display various directories. Some of these are areas of the SD card for storing files, while others are virtual directories for accessing different portions of the OS.
Type ls /
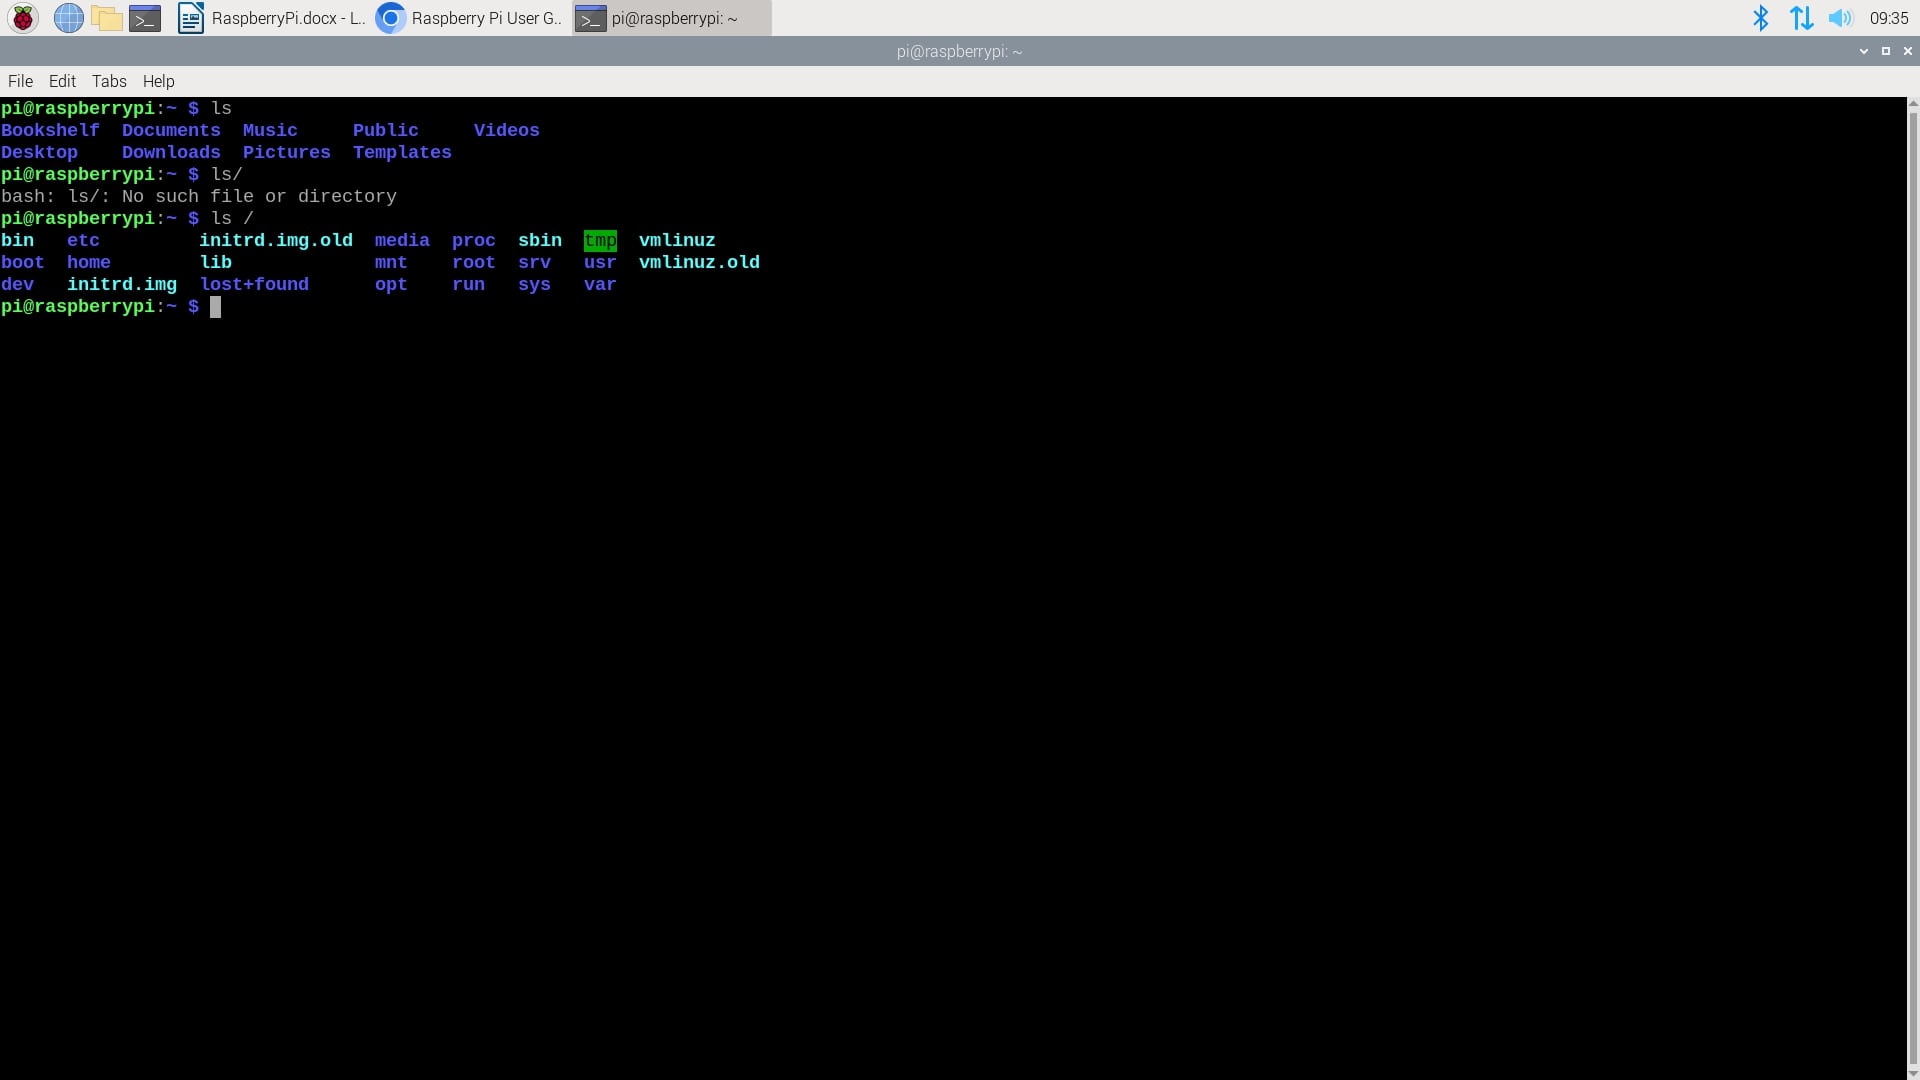
BIN: operating system related to binary files stored here
Dev: this is a virtual directory. All the devices connected to Pi can be accessed from here.
Etc: this stores miscellaneous configuration files, including the list of users and their encrypted password
Home: each user gets a sub directory beneath this directory to store all their personal files
Tmp: Temporary files are stored here automatically
Var: this is a virtual directory that programs use to store changing values or variables
Installing and uninstalling software
Installing a new package into Pi is simple. Rasbian distribution includes a tool called apt which is a powerful package manager. It is designed to be operated from a command line. A package manager’s job is to keep track of all the software installed on the system. Before trying to install new software or upgrade existing software, make sure that apt cache is up-to-date. This is done by tying
Sudo apt-get update
Finding Software in PI
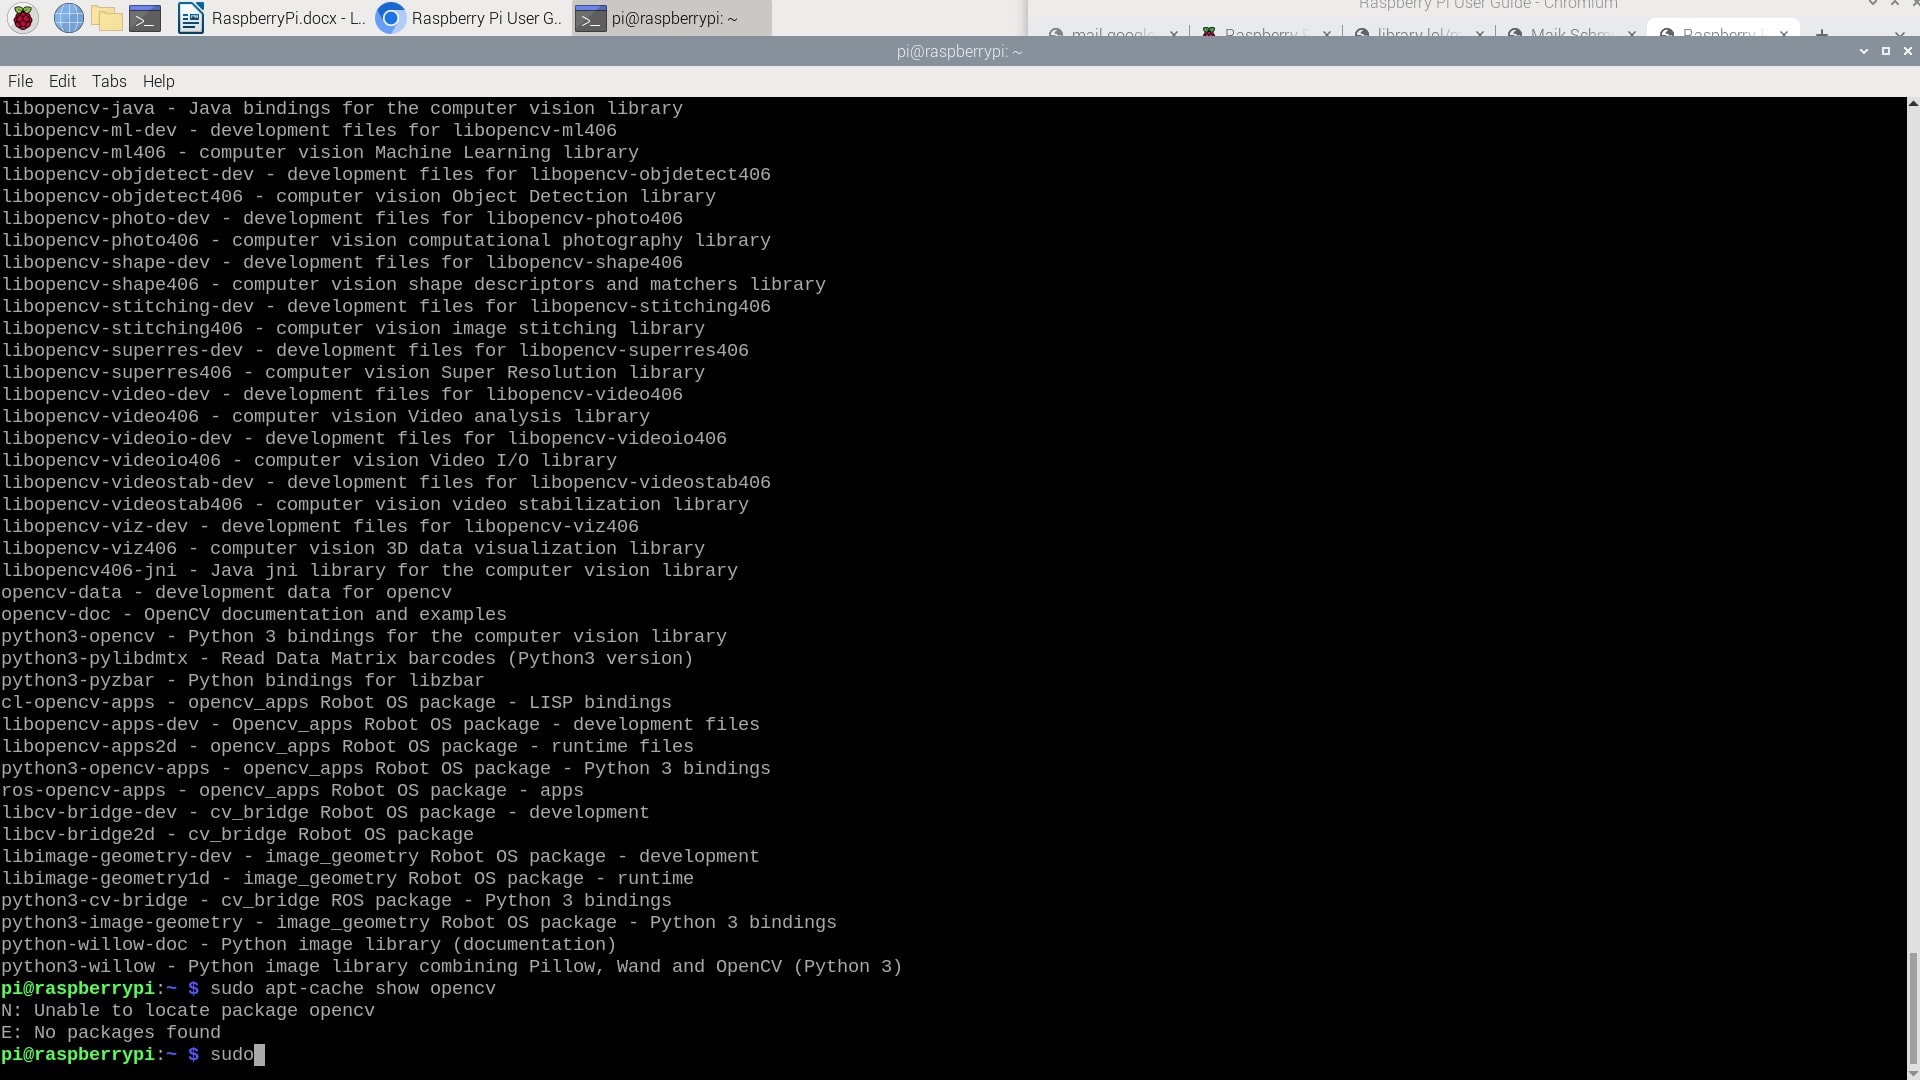
The first step to install software is to find out whether it is available. The easiest way to do this is to search through the cache of available software packages.
Sudo apt-cache search opencv- search package on the internet
Sudo apt-cache show opencv - tell us if it is installed in the PI
Installing Software
Once you know the name of the package you want to install, switch to the apt-get command in order to install it.
Sudo apt-get install package_name
Dependencies are one of the biggest reasons for using a package manager like, apt rather than installing software manually. If a package depends on other packages, it will automatically find them and prepare them for installation.